FOTA Demonstration System
Overview

To package and release our efforts, we have built an end-to-end demonstration system comprising all of the typical components in an IoT system: IoT Devices, an IoT gateway and an IoT device management platform. In the System Setup section, you will find 3 guides that will walk you through configuring each of the components.
It is important that you complete each section before moving onto the next to make sure the demonstration system works for you.
Once you have the system up and running, you will be able to upload a cryptographically signed firmware image to a device management server, Hawkbit (which will be running in a Docker container on your workstation). You can then use the Hawkbit web interface to push that new firmware image to an IoT device. The IoT device will install and run the new image after verifying the signature is valid.
Currently, the IoT device will either be the 96Boards Nitrogen or the 96Boards Carbon, which connects to the device management server through a gateway device, currently a 96Boards HiKey.
A rough block diagram of the system you will set up is shown above right.
System Setup
To create this system, follow these sub-guides in order:
Set Up hawkBit
In this section, you will install a local hawkBit system using Docker containers.
- You will establish a network for communication, and run support containers and then launch hawkBit.
- Once you verify hawkBit is running, you are ready to set up your IoT device(s).
- Configuring hawkBit Container for Local Development
Set up the IoT Device
In IoT Devices, you will learn how to load the 96Boards (Carbon and Nitrogen) with released software.
- If you have a BLE Nitrogen device, you will follow IoT Device: 96Boards Nitrogen
- If you have a BLE Carbon device, you will follow IoT Device: 96Boards Carbon
- With the BLE Carbon device, you will also have to flash the Carbon nRF51 MCU (Bluetooth firmware), which may require additional hardware. See Flashing the nRF51 chip on the Carbon.
Set up an IoT Gateway
The last component to set up is the IoT Gateway. For our demonstration system, follow instructions at IoT Gateway: 96Boards HiKey. If you are unfamiliar with this board, you can learn more about it at:
http://www.96boards.org/documentation/ConsumerEdition/HiKey/README.md/
System Usage
Now that your system is fully set up, you should see the 96Boards device show up in the “Targets” view of the hawkBit administrator UI. It will look something like this, though the exact string may change on your system:
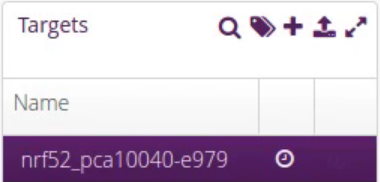
96Boards Nitrogen registered with hawkBit.
To finish using the system, you’ll upload the signed FOTA application to the hawkBit server. You’ll can then send it to the connected IoT Device using the hawkBit UI.
To upload the binaries to hawkBit, fetch this script:
wget https://raw.githubusercontent.com/linaro-technologies/hawkbit/master/hawkbit.py
It will work unmodified if you used the default passwords, but if you chose your own, you may need to modify it using the information in the Hawkbit Reference page.
Upload the binary to your hawkBit server from the mcuboot directory if you built from source, or from the directory where you unpacked your binaries (1.0 is an arbitrary version number):
python /path/to/hawkbit.py \
                  -ds 'http://localhost:8080/rest/v1/distributionsets' \
                  -sm 'http://localhost:8080/rest/v1/softwaremodules' \
                  -d 'Nitrogen End-to-end IoT system preview' \
                  -f linaro_fota-96b_nitrogen.signed-slot1.bin \
                  -sv "1.0" -p "Linaro" -n "Nitrogen E2E preview" -t os
You will see updates in the hawkBit UI when the image is uploaded:
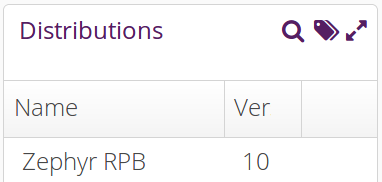
Distribution Set representing a signed firmware binary.
Before updating the IoT Device, connect to its serial console via USB
at 115200 baud (which should be at /dev/ttyACM0 or so on Linux
systems).
Now, click on the distribution set you uploaded, and drag it over the line in “Targets” which represents your IoT Device.
You’ll next need to confirm the action. Look towards the bottom of your screen for a button labeled “You Have Actions”. This should now have a “1” at its top right, since you’ve assigned the Zephyr RPB distribution to your Nitrogen:
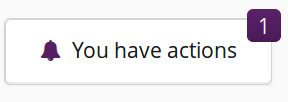
Click this button.
After you click this button, a screen will appear. Select “Save Assign” on this screen:
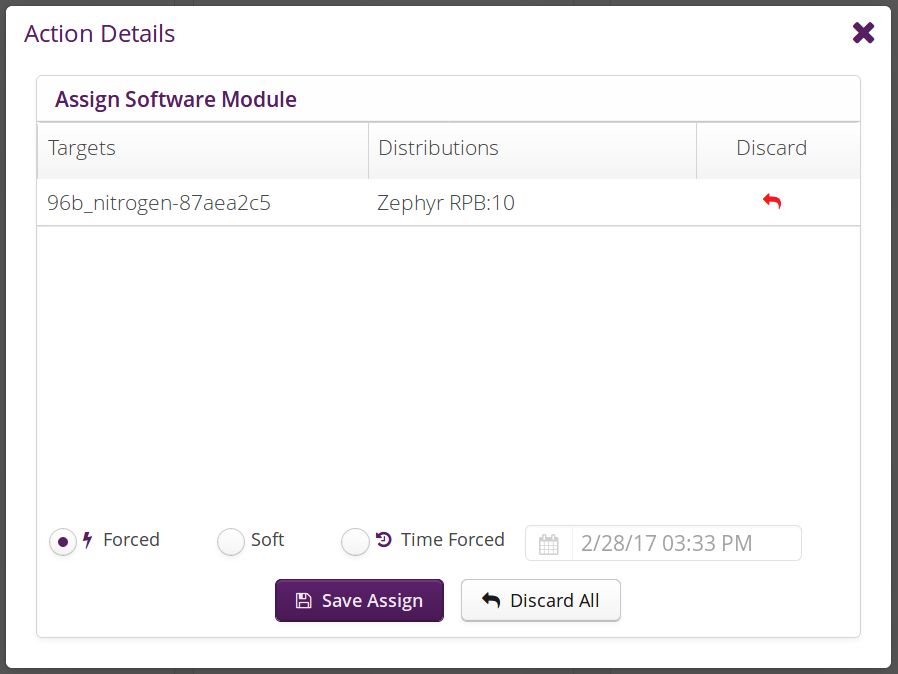
Choose “Save Assign”.
The next time the Nitrogen board polls your hawkBit server for an update, you will see it download this image, verify it, and reboot into the shell application. If you don’t want to wait, it’s safe to reset your Nitrogen by pressing the “RST” button; it will check for an update shortly after booting.
Look for output like this on the Nitrogen serial console after the update is downloaded:
[0140720] ota: hawkbit_download_cb: 99%
[0141520] ota: Download: downloaded bytes 237568
[0141520] ota: Clearing bank 1 image_ok and copy_done
[0141530] ota: ACID updated, current -1, update 1
[0141530] ota: Image id 2 flashed successfuly, rebooting now
[MCUBOOT] [INF] main: Starting bootloader
[MCUBOOT] [INF] boot_status_source: Image 0: magic=good, copy_done=0x1, image_ok=0x1
[MCUBOOT] [INF] boot_status_source: Image 1: magic=good, copy_done=0xff, image_ok=0xff
[MCUBOOT] [INF] boot_status_source: Scratch: magic=unset, copy_done=0xff, image_ok=0xff
[MCUBOOT] [INF] boot_status_source: Boot source: none
[MCUBOOT] [INF] main: Bootloader chainload address: 0x8000
[MCUBOOT] [INF] main: Jumping to the first image slot
shell> Linaro FOTA example application
Device: 96b_nitrogen, Serial: 87aea2c5

[Some output omitted]

{"id":"1","status":{"result":{"finished":"success"},"execution":"closed"}}
A video showing this in operation is available at End to end Demo video.
Known Issues
Issues and observations are logged within Linaro’s Bugzilla issue tracker.
FOTA Demonstration System Index
This section links to additional information about development not covered by the instructions above.
- Device Management Backends
- IoT Devices
- IoT Gateways
- IoT Gateway: Generic Debian/Ubuntu Instructions
- Check kernel version
- Check / Update BlueZ stack
- Install radvd (Router Advertisement Daemon)
- Install ndppd
- Install tinyproxy
- Set IP address for bt0 interface
- Setup sysctrl for router services
- Set Network Manager to ignore the bt0 interface
- Download bluetooth_6lowpand script
- (OPTIONAL) Set the location of gitci.com in /etc/hosts
- Reboot
- Start the IoT gateway processes
- IoT Gateway: 96Boards HiKey
- 6LoWPAN Whitelist
- IoT Gateway: Generic Debian/Ubuntu Instructions