Configuring hawkBit Container for Local Development
This page describes how to set up a firmware over the air (FOTA) update server using the hawkBit backend.

Prerequisites, trees, and relevant commits
- Operating system which supports Docker containers.
- These instructions have been tested on Ubuntu 16.04.
- gitci-hawkbit-container
- URL: https://github.com/linaro-technologies/gitci-hawkbit-container
- Branch: master
- This is used to build the container which runs hawkBit
Container Setup Instructions
Follow these instructions to create four Docker containers.
- One will run hawkBit
- The other three will run hawkBit’s dependencies: - MariaDB - RabbitMQ - mongodb
These containers must share a network. Create this network now:
docker network create hawkbit-net
HawkBit Option #1: Pull from Docker Hub
If you wish to use a prebuilt hawkBit container with default passwords and other settings:
docker pull linarotechnologies/gitci-hawkbit-container
HawkBit Option #2: Build Your Own
If you wish to use your own passwords for these containers, clone the gitci-hawkbit-container repository from Linaro’s GitHub and edit the gitci-hawkbit-container file application.properties, changing:
- Default RabbitMQ username and password (spring.rabbitmq.username, spring.rabbitmq.password) (if different).
- MariaDB URL, username and password (spring.datasource.url, spring.datasource.username, spring.datasource.password), and the name of the database used.
- MongoDB URI (spring.data.mongodb).
- The Hawkbit password and user (hawkbit.server.ui.demo.password, hawkbit.server.ui.demo.user)
Now build the container image:
docker build -t hawkbit --force-rm .
Create Containers for hawkBit Dependencies
Next, you need to set up three other containers that the gitci-hawkbit container needs to run, as well as a network for them to use to communicate. These instructions use the default passwords; you will need to change them if you chose non-default passwords. Note that the default database name (the value of the MYSQL_DATABASE variable) cannot be changed without reconfiguring and rebuilding the hawkbit container.
docker run -dit \
           --network=hawkbit-net \
           --name srv-mariadb \
           -e MYSQL_ROOT_PASSWORD=root-mysql \
           -e MYSQL_USER=hawkbit \
           -e MYSQL_PASSWORD=1234 \
           -e MYSQL_DATABASE=hawkbit \
           mariadb
docker run -dit --network=hawkbit-net --name srv-mongodb mongo:3.2
docker run -dit \
           --network=hawkbit-net \
           --name srv-rabbitmq \
           --hostname srv-rabbitmq \
           rabbitmq
Now wait for all of the containers to finish initializing; 20 seconds or so should be enough.
Run hawkBit Container
After its dependencies are created and have finished initializing, start the hawkBit container:
# If you pulled from Docker Hub, use "linarotechnologies/gitci-hawkbit-container"
# instead of "hawkbit" as the last argument.
docker run -dit \
           --network=hawkbit-net \
           --name hawkbit \
           -p 8080:8080 \
           -v secrets.properties:/srv/secret/secrets.properties \
           hawkbit
The secrets.properties file available in the repository is just an example, but it needs to at least match the values defined for the MariaDB container you started before. (If you pulled your hawkBit container from Docker Hub, obtain secrets.properties from the gitci-hawkbit-container repository top-level).
This container can take approximately 40 seconds for the application to start for the first time.
Log in to hawkBit Administrator Interface
After running the hawkBit container, visit http://localhost:8080/UI to load the administrative interface, and log in with the hawkBit username and password (default admin/admin) that you set before in the hawkbit.server.ui.demo.user and hawkbit.server.ui.demo.password values in application.properties.
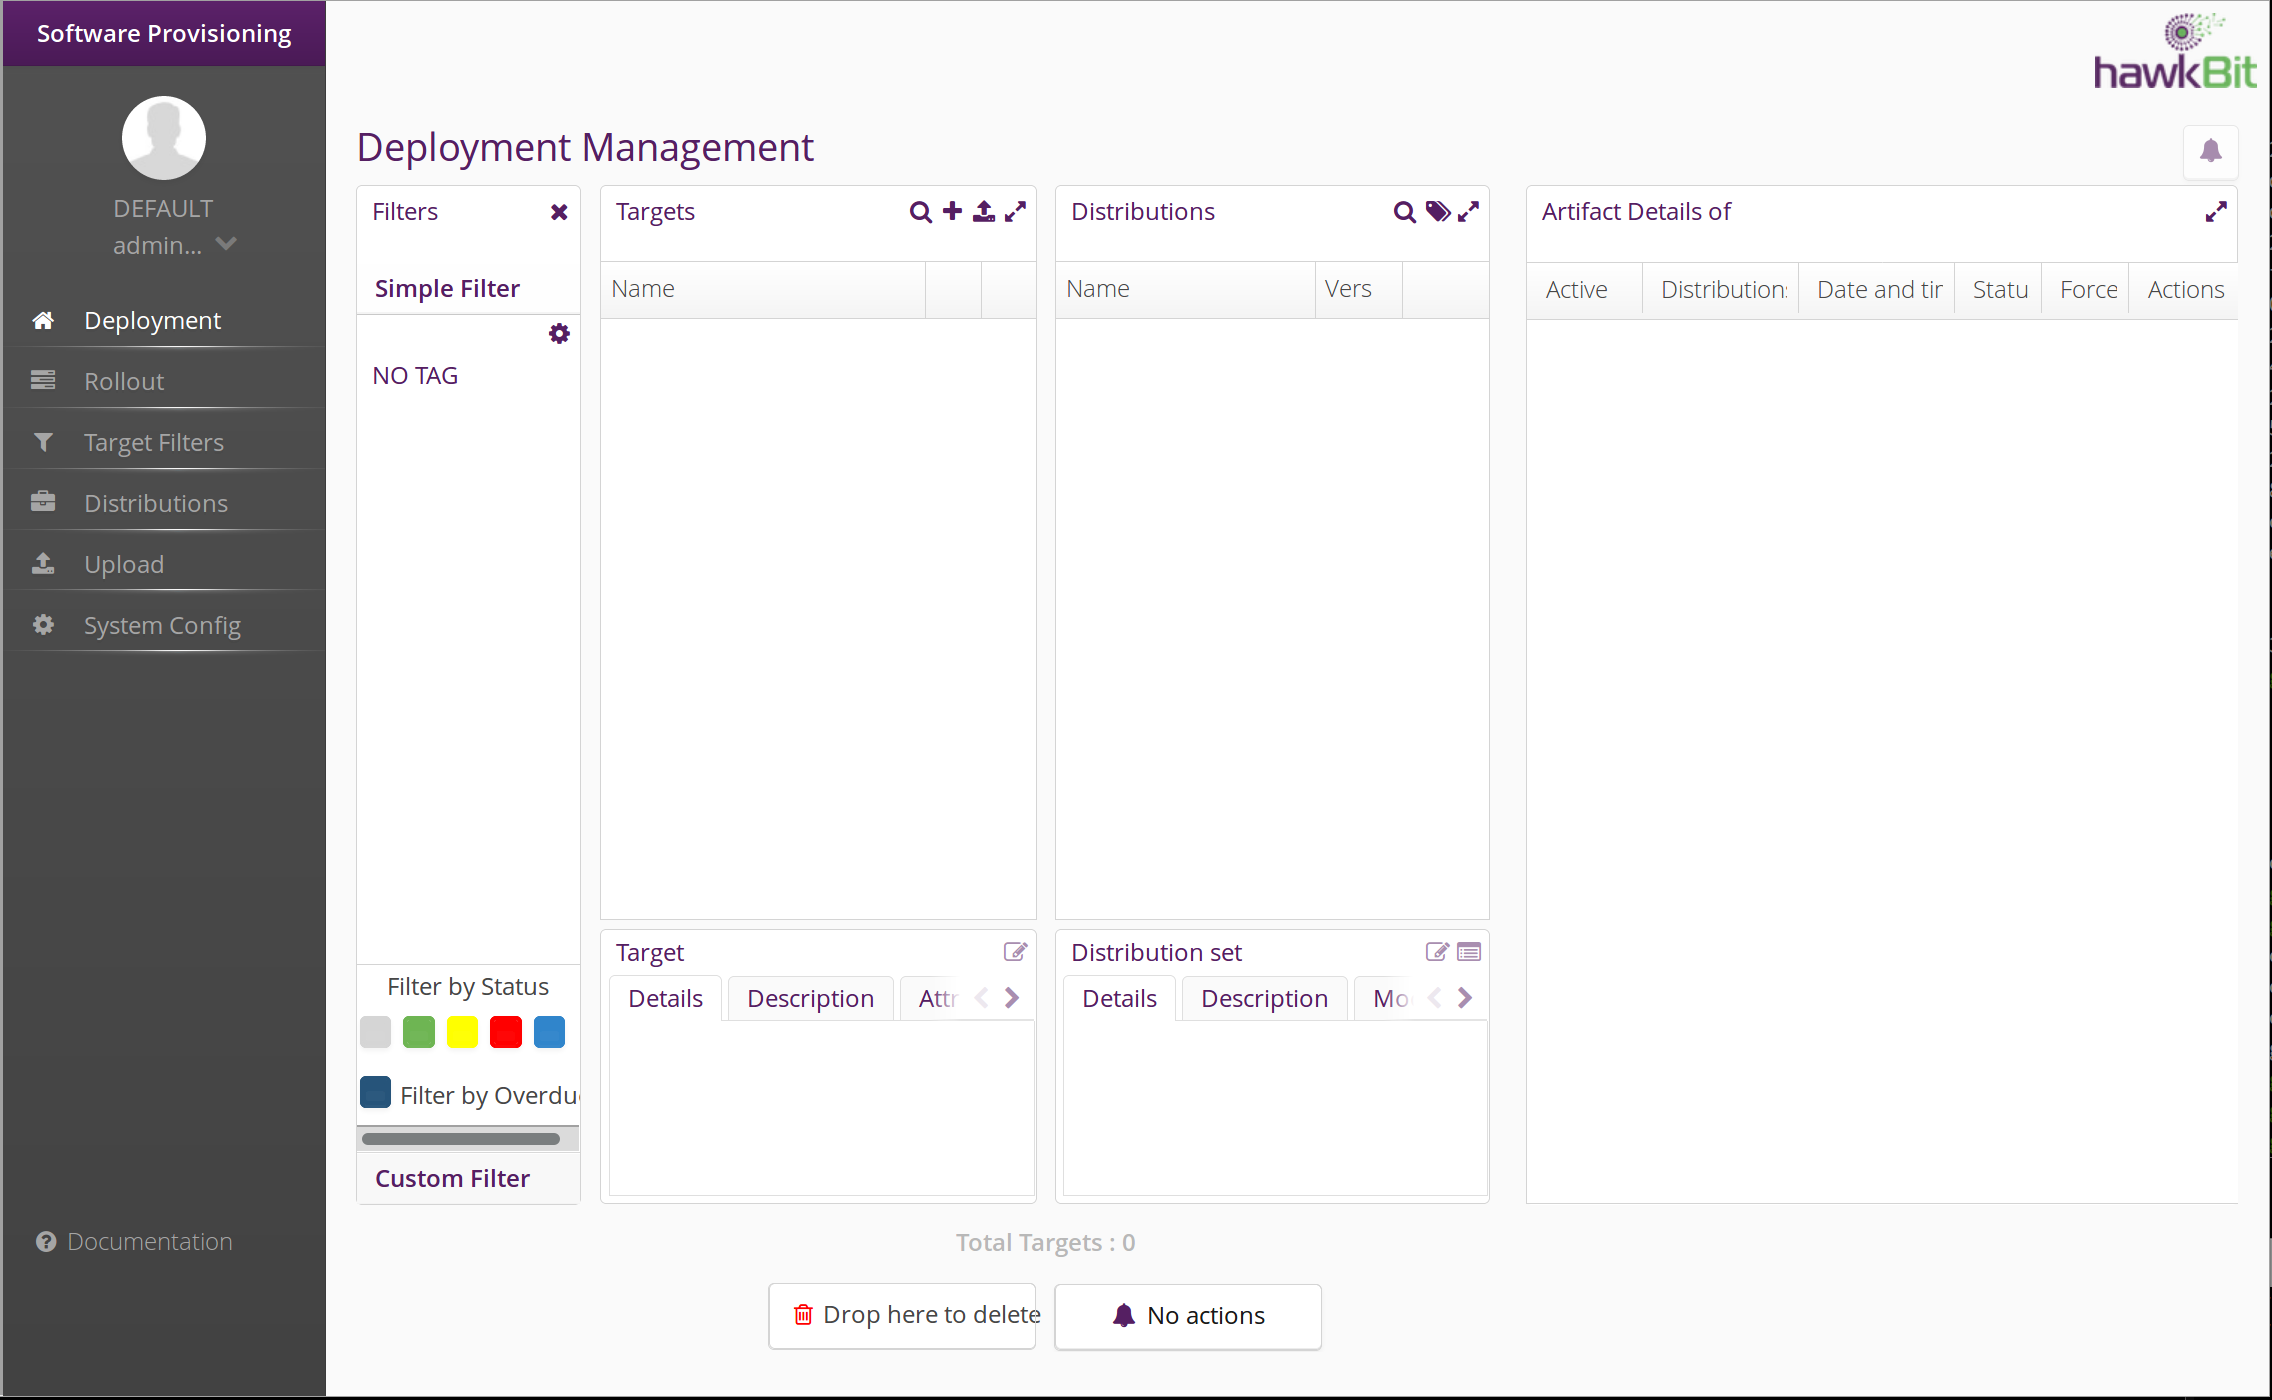
After logging in, your browser window should look like this:
Congratulations! Your hawkBit server is now ready for use. You can now set up an IOT Gateway and IOT Device to connect to this server. Once you’ve done that, you will be able to update the IOT Device, through the Gateway, with new firmware images.